Disclaimer: this article includes links to products for sale on our store.
In this post we are going to cover:

Plus more... Read on to learn everything you need to know about how to coinjoin using Wasabi wallet.
Using Bitcoin (relatively) privately is a skill that everyone should learn. Thankfully, it’s very easy to do using Wasabi’s implementation explained below. But before we dive in, let’s first talk about what a Coinjoin basically is.
What is Coinjoin?
CoinJoins allow strangers to come together to mix their coins with each other. Each Coinjoin participant takes out the same amount of coins they put in. This allows them to hide which input transaction was theirs and keep their wallet anonymous.
For instance, let’s you buy one Bitcoin on Coinbase.com. You could send it to yourself, but then Coinbase might assume that the wallet you sent to is owned by you. Instead, you send the Bitcoin to a Coinjoin and mix it with 50 other people’s bitcoins. Once the Coinjoin is finished, you can then send the coin to your wallet. Now Coinbase does not know which of the 50 wallets is yours.
Why Use Wasabi?
Coinjoins require multiple parties to jointly sign on an agreement to mix their coins when engaging in separate Bitcoin transactions.
This makes it harder for outside parties to determine which party or parties were making a particular transaction. Wasabi Wallet is probably the easiest way to use CoinJoin today. Wasabi is a desktop wallet GUI that makes CoinJoining your BTC a breeze.
A good practice to consider is whenever withdrawing from a cryptocurrency exchange, send your BTC to Wasabi, CoinJoin them, and then withdraw them in chunks to cold-storage. Otherwise, your exchange will know how much BTC you have and where you have it.
Much more has been written on this subject that is beyond the purview of this guide, and this should be taken as a beginners guide.
Now, How to Do a Coinjoin
Install Wasabi Wallet on your desktop, open the application, and click the tab that says “Generate Wallet” on the top left.
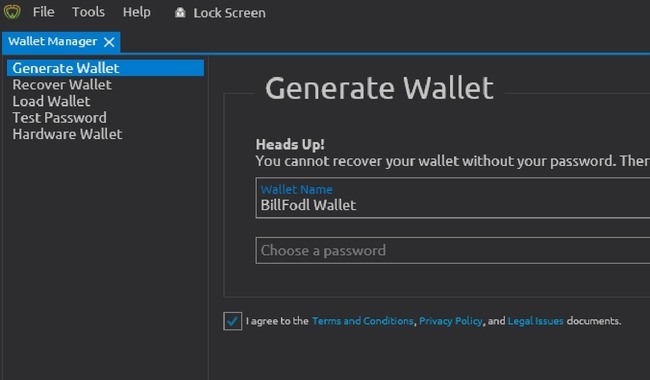
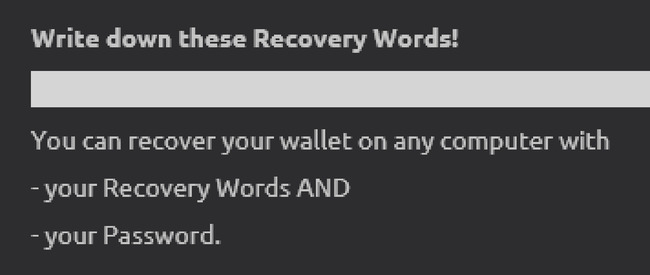
Next, backup your private keys offline!
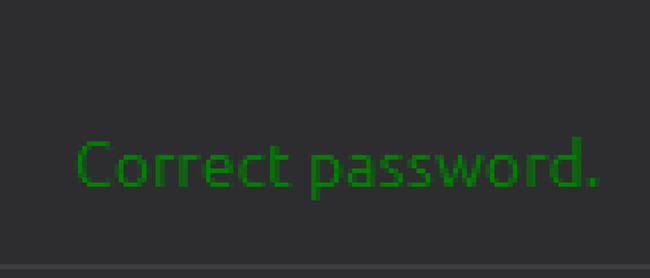
Wasabi Wallet will prompt you to test your password, type it in, confirm it works, and you are good to go. If you did this right, you will get the following message on the bottom of the interface.
Go back to the main screen and click “Load Wallet” and select the new wallet you created from the list (which will only have one choice at this time).

Click the RECEIVE tab, create a label for your transfer, and generate a new Bitcoin address. Wasabi receive addresses will always begin with “BC1”

Send yourself at least 0.1 BTC to the generated address so you have enough to mix. Once Wasabi receives the broadcast of your transaction, your receive address will disappear.
Do not be alarmed, this is to discourage address re-use, which is bad for privacy. In fact, when you get used to Wasabi, you will feel confident seeing your address disappear, as this means your BTC is safely on its way to your Wasabi Wallet.
Now, you can see I have 0.1 BTC in this wallet.
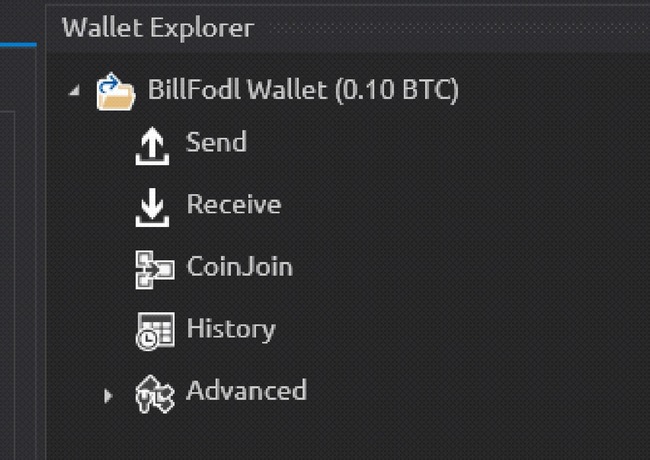
Now for the magic, click the “CoinJoin” tab on the top left, select your transaction, type in your password, and select “Enqueue Selected Coins”
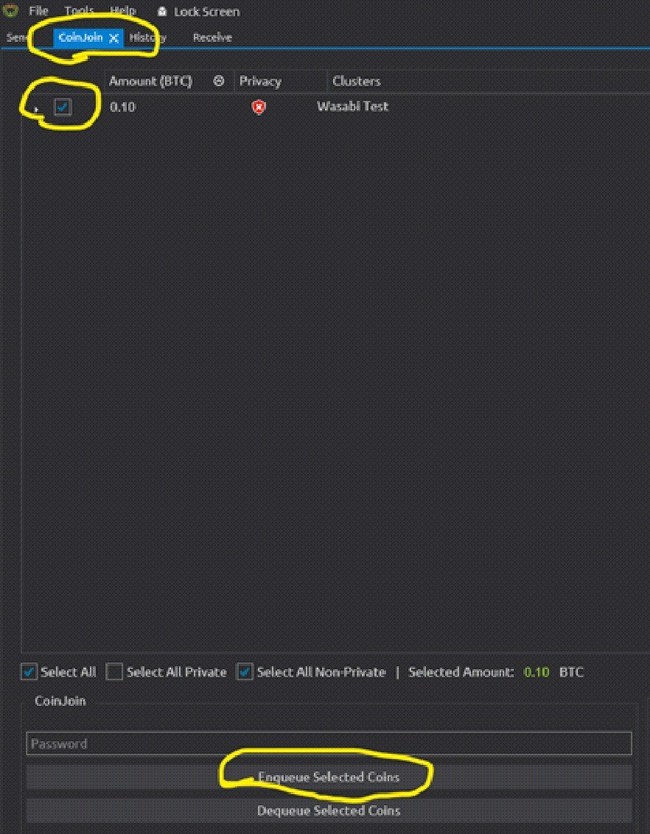
Congratulations, your BTC is prepared for the next round of CoinJoin which takes place many times per day. You can leave your Anonymity Set at 50 as default. For more about that, read the Wasabi Wallet FAQ linked above.
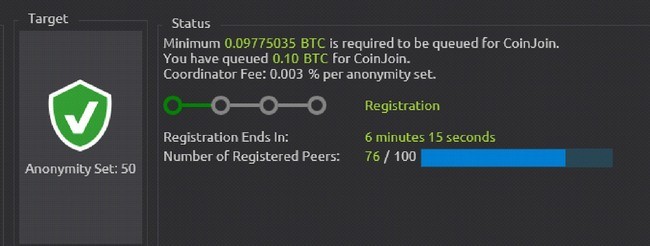
Leave your Wasabi Wallet open and connected to the internet for a few hours to give it time for your CoinJoin to process, and for your fresh CoinJoined BTC to arrive back in your wallet.
And That’s Really All There is to It…
Congratulations, you are now part of the elite underground Cypherpunk movement!


